
Published:
2013-01-24
Updated:
2020-02-07
Learning Ukulele with Curt
Proper Fretting Hand Placement
Efficiency is the key to technique. This lesson shows the proper finger and thumb placement for the fretting hand.
Author(s): Curt Sheller Publisher: Curt Sheller Publications Code: UL08
Main Category: Technique Main Instrument: Ukulele
Categories: Chords, Fingering, Technique, Gymnastics

2026-08-23
Number of Pages: 12
If you're a registered site member and have the correct permissions you can view ALL the pages of this PDF at a larger size using the LearningUkulele.com Online PDF Viewer (button below).
Download PDFThis Download is NOT part of your LearningUkulele.com & Learning Ukulele with Curt membership level.
Sign-up for Premium Site Access or Upgrade Your Plan to download this PDF or your can purchase a copy for download
Sign In for Access…Contact Us if there are any issues.
Efficiency is the Key to Proper Technique.
Ukulele or Guitar
These technique tips apply to guitar as well as ukulele.
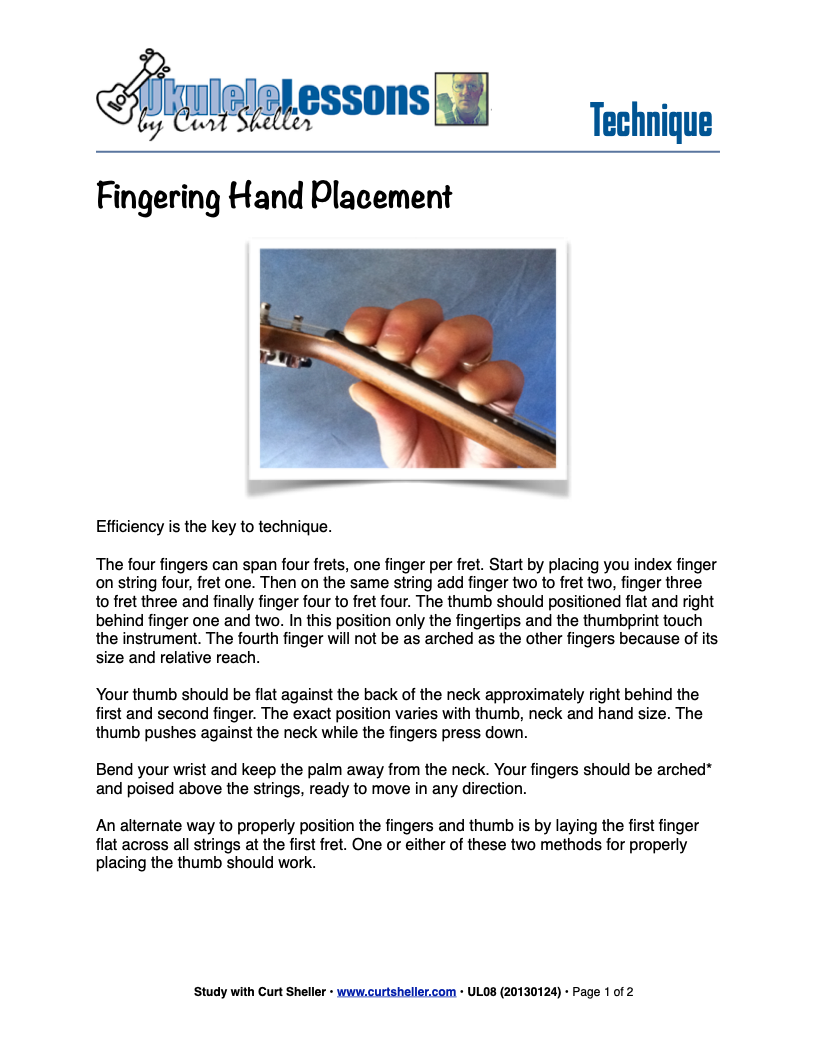
Four fingers can span four frets, one finger per fret. Start by placing your index finger on string four, fret one. Then on the same string, add finger two to fret two, finger three to fret three, and finally finger four to fret four. The thumb should be positioned flat and right behind fingers one and two. In this position, only the fingertips and the thumbprint touch the instrument. Each finger is arched proportionally to its length relative to the other fingers. The fourth finger will not be as arched as the other fingers because of its size and relative reach.
Your thumb should be flat against the back of the neck, approximately right behind the first and second fingers. The exact position varies with your thumb, the instrument neck profile, and your particular hand size. The thumb's main job is to apply opposite and equal pressure from the fingers.
The No. 2 Pencil
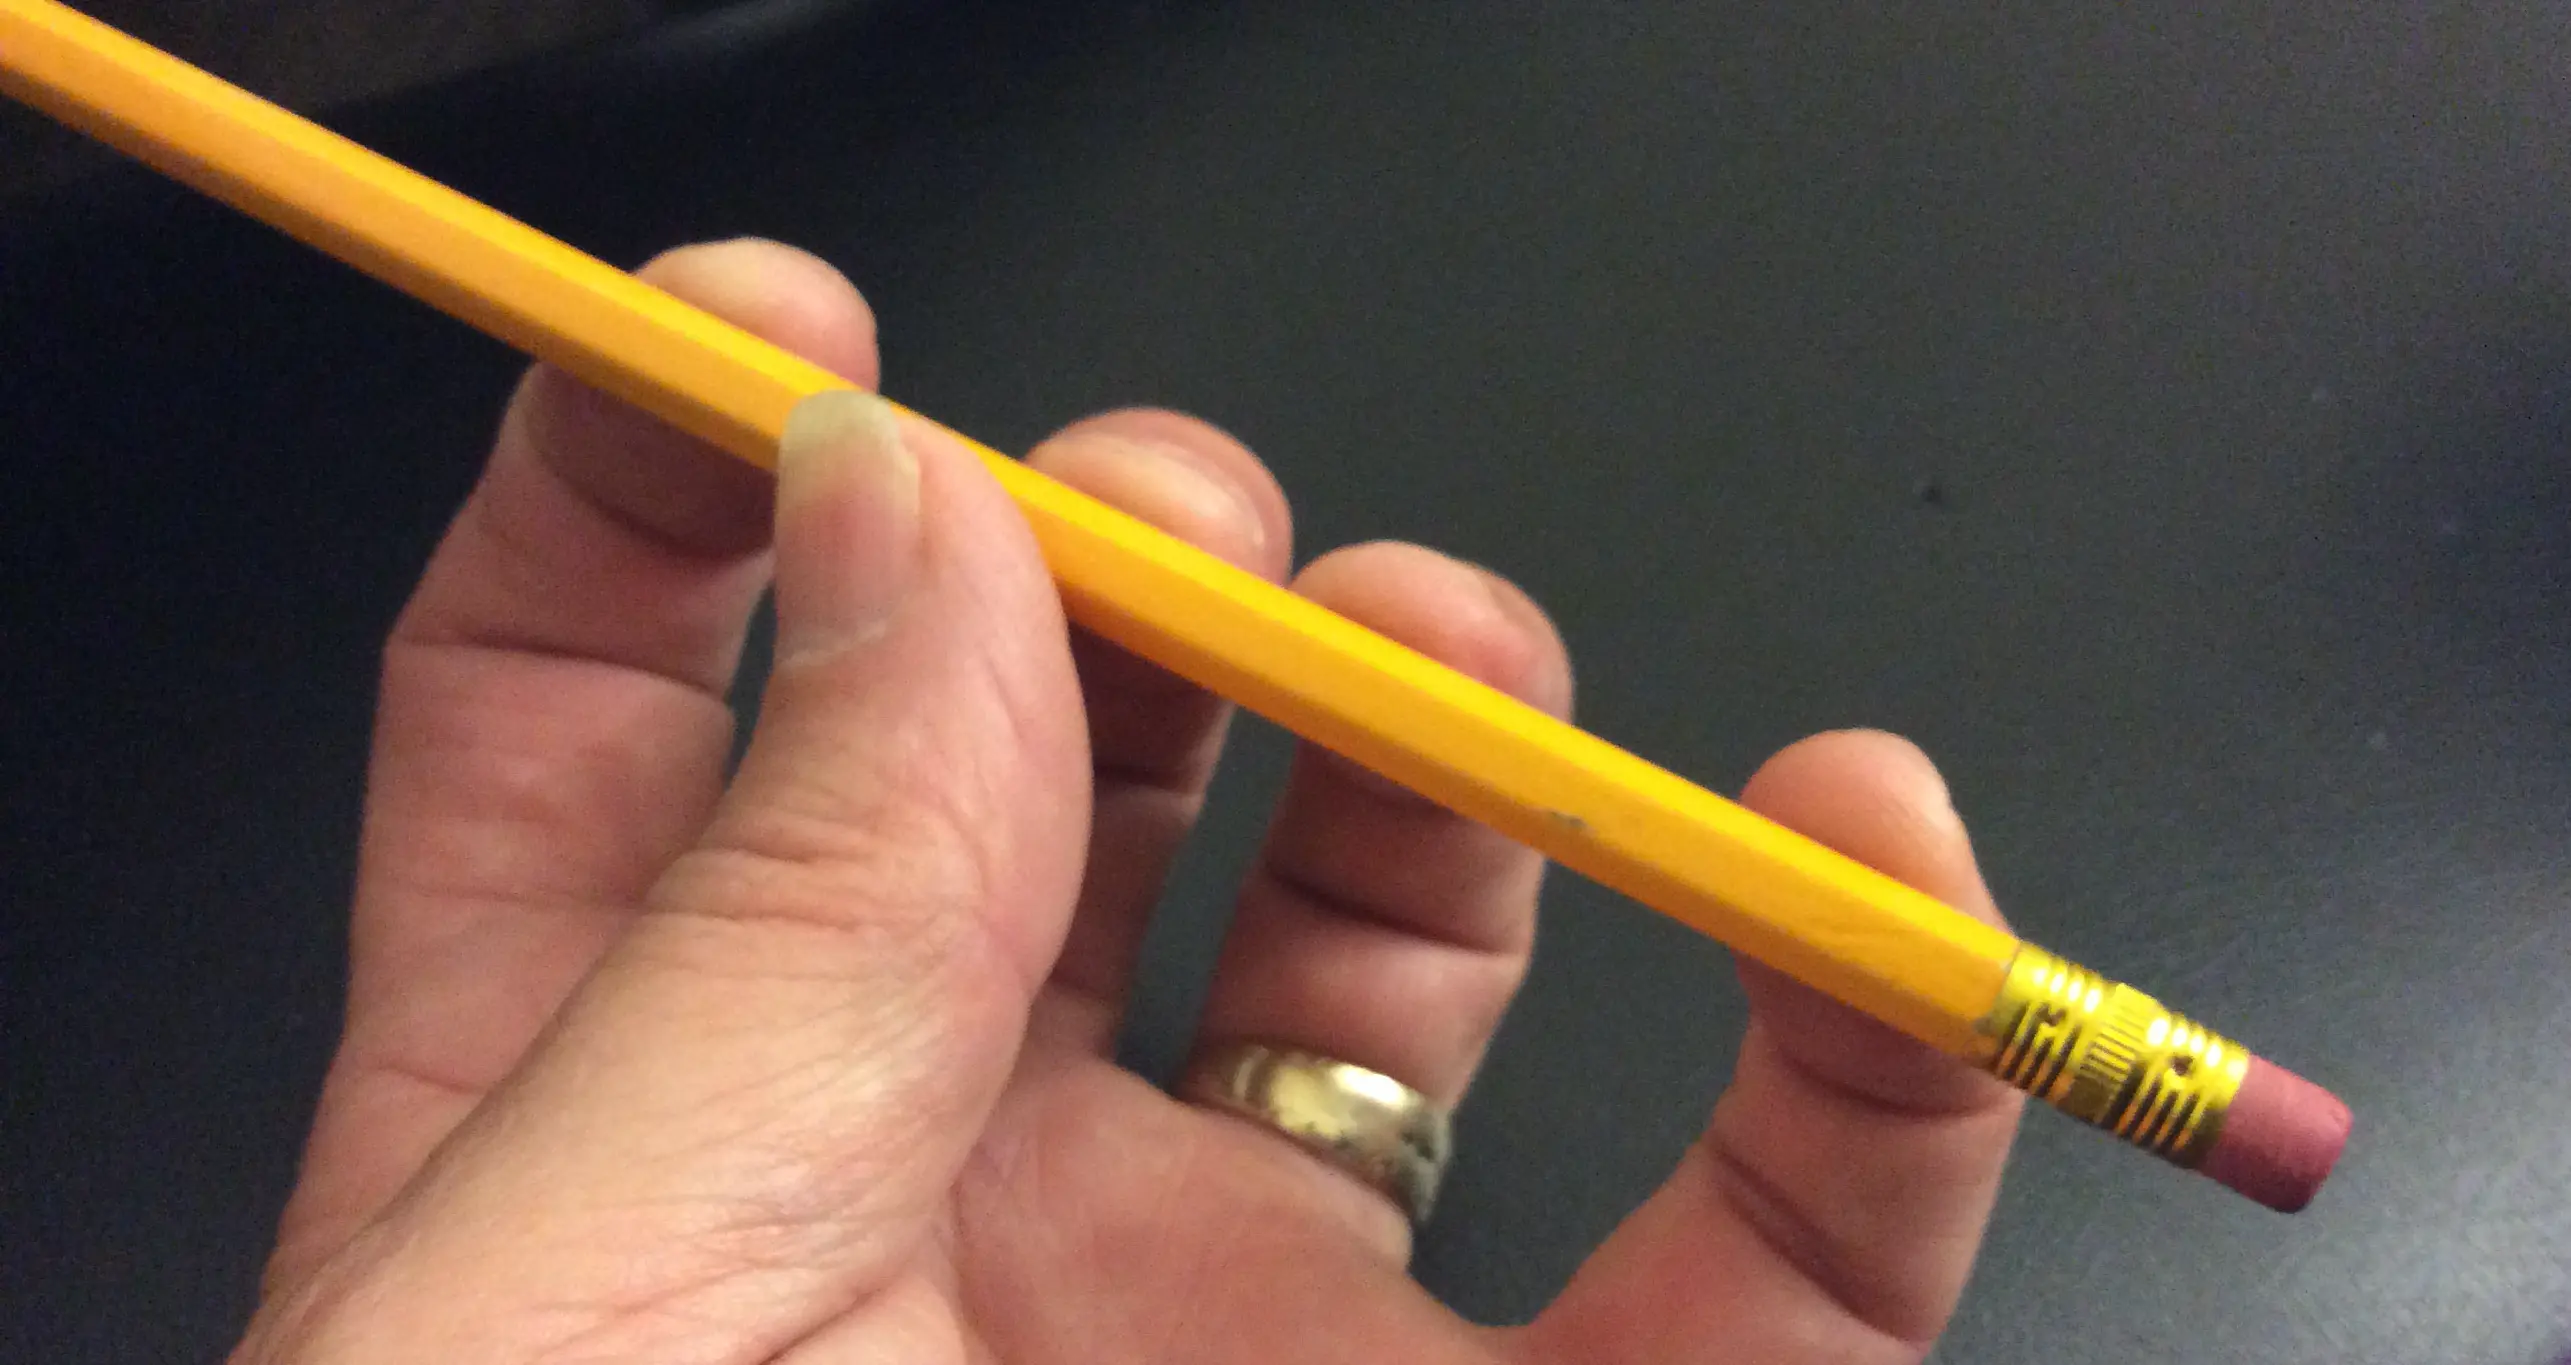
The old standby No. 2 pencil is a handy tool to show proper finger and thumb placement. I often substitute a "Carpenter's Pencil" to make it a bit easier to demonstrate.
More Proper Fretting Hand Placement
content below, continue exploring...
More Proper Fretting Hand Placement
- Place fingers (fingertips) on the pencil's
Painted Body
and your thumb should naturally go into the position of support right behind your index and middle finger. - That's it — I do typically replace the No. 2 pencil with a flat
Carpenter Pencil
, as it's a little easier to balance and has more of an area on itsFerrule
— it's flat. Student's have more success with this type of pencil when doing this demo.

Standard, Yellow Carpenter's Pencil
I'll place the carpenters pencil on a flat surface, often the back of my ukulele held horizontally, and have the student pick the pencil up with their fretting hand. Pretty much guaranteed their thumbs will go as in the picture above.
Alternately, you can place all four fingers on string four, the string closest to your nose, of your ukulele on frets (1), (2), (3), and stretch your pinky to fret (5). This should place your thumb in the proposition of supporting the fingers, just as the above pencil demonstrations do.
Your thumb needs to supply equal and opposite pressure to the fingers pressing on the strings.
I often see, even in pro players, the thumb moving around as much as their fingers.
The bottom line is – unless there is an overwhelming musical reason for the thumb to venture out of its support role. Keep it in its primary support role.


End of Lesson - Thanks, Hope You Enjoyed It!
Related Lessons, Videos, Lesson Series, Songs, Books & Reference Charts, Resources & Assets, Workshops are below.

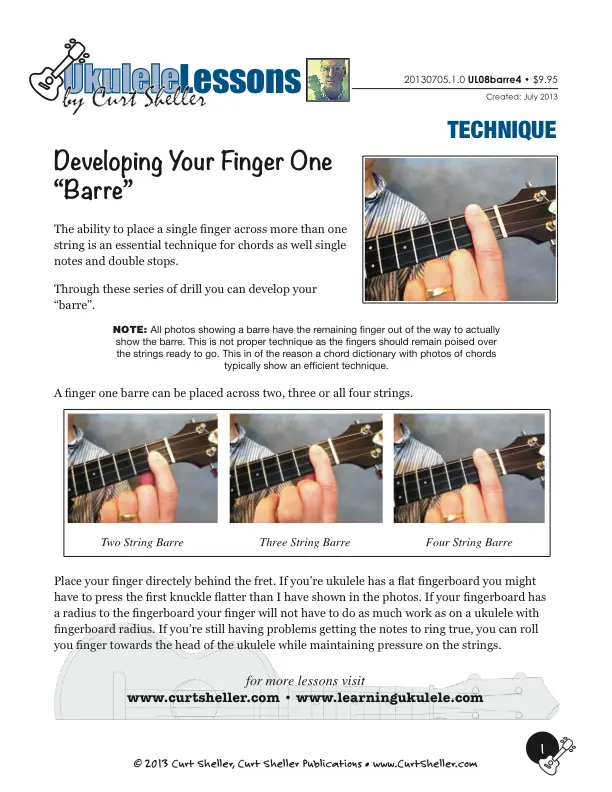

Six Secrets of Ukulele Fingering
Learn the six fingering principles to navigating the ukulele fingerboard. Fingering is one of the most universal topics. Whether your style is Rock, Blues, Country, Jazz or Classical, these principles will improve your technique, your solos, even your sight reading. Think of fingering as a series of pathways. When you learn to connect these pathways, there are benefits not only to technique but also to creativity.